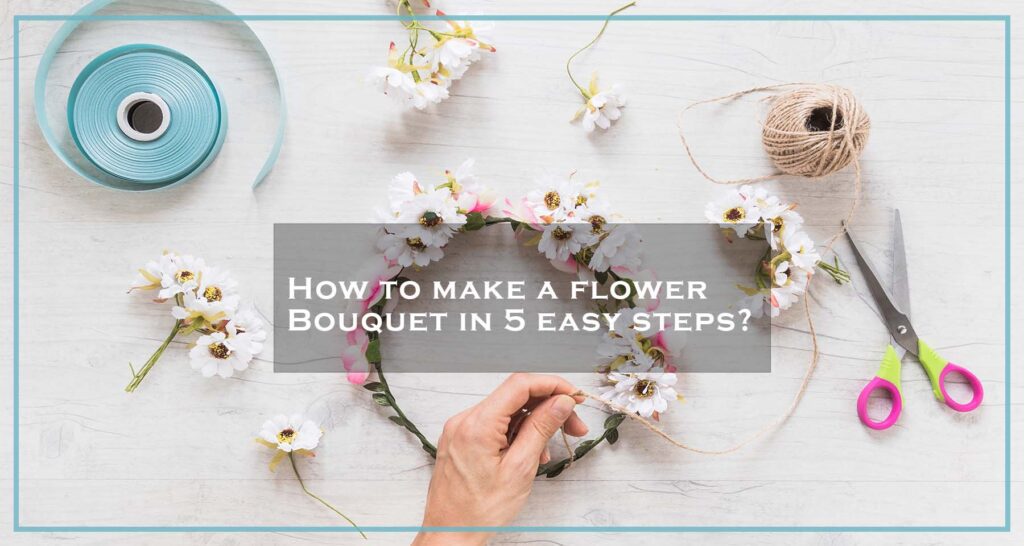
How to make a flower Bouquet in 5 easy steps?
DIY Flower Bouquets in 5 Easy Steps
Are you looking for a way to show someone how much you care? Flowers are a gorgeous method of expressing emotions and can add to the beauty of any occasion. Creating a DIY bouquet is a fun and affordable way to personalize floral arrangements for special events, home decor, or creative expression.
In this blog post, we’ll provide you with a step-by-step guide to creating stunning flower arrangements or bouquets that are unique and personalized. By following these techniques, you’ll be able to impress and delight your loved ones with a DIY flower bouquet idea that indeed shows how much you value their happiness.
How to Make a DIY Bouquet: Floral Arrangement Steps in Detail:
You should know a few things if you’re considering giving your loved ones a homemade bouquet on occasions like Mother’s Day, Valentine’s Day, birthdays, weddings, or graduations. Creating a beautiful and elegant flower arrangement may seem easy, but it requires specific skills and a careful selection of flowers, colors, add-ons, and even the presentation. However, don’t worry! Follow these simple tips to ensure your floral creation is a resounding success, regardless of your flower expertise.

Step 1: Choose flowers for your bouquet.
Creating your bouquet is like painting a beautiful picture with colors! Start by selecting one or two central flowers in complementary colors, like yellow and orange or red and pink, to be the stars of your bouquet. These flowers are also known as main, focal, or principal flowers. Then, balance them with a smaller, neutral-colored “sweet” flower, like a white rose. Fillers are essential for adding volume and pops of color with exciting textures. You can use green accents, such as leaves, for a natural and fresh impression, or other types of flowers, like baby breath or daisies.
It’s important to remember the occasion and theme when making your choices. You can explore monochromatic palettes or mix shapes and sizes for a dynamic look. It’s best to choose seasonal blooms for freshness and affordability, but most importantly, pick flowers that speak to you! With this color theory in mind, you’ll soon become a DIY bouquet pro!
Step 2: Get ready with the necessary flower craft tools.
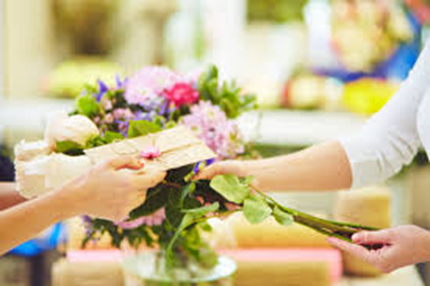
Are you excited to show off your florist skills with the perfect bouquet? Start by gathering fresh flowers from your garden or an Oman flower shop, along with some sharp scissors or floral snips, floral tape, and rubber bands. Keep ribbons, a vase, and other decorations like napkin rings, tulle, or decorative wire on hand to add a personal touch. You can secure the bouquet with hemp rope or twine, but floral tape works just as well. With all your tools ready, let your creativity flow and create a beautiful bouquet perfect for any occasion!
Step 3: Cut and Prepare Flowers for Bouquet-Making
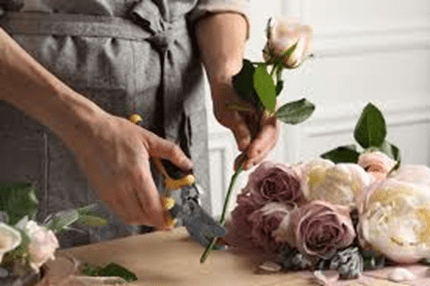
Before you start arranging your flowers, it’s important to give them a spa treatment so they can last longer and look beautiful. First, make sure to prepare your workspace and remove any packaging or rubber bands. Then, clean up the flowers by gently removing any extra leaves or damaged petals from the lower half of the stem. This will help with airflow and prevent rotting in water.
Remember to trim any unwanted buds that might compete with the main attraction. If you’re dealing with thorny roses, carefully remove the thorns using sharp tools. Finally, give the stems a fresh start by making a clean, diagonal cut at the base with sharp shears. This will increase the surface area for water absorption.
After prepping the flowers, place them in a clean vase or bucket filled with cool water. You can even add flower food for an extra boost. This temporary holding allows them to rehydrate after transport and prepares them to shine in your arrangement!
Step 4: Arrange & Assemble Flowers in Bouquets
Let’s begin the exciting process of crafting a stunning floral masterpiece! Here’s a popular technique that you can use to create a breathtaking bouquet: Start by selecting 2 to 4 of your most striking flowers to serve as the stars of your arrangement (focal/ principal flower). Hold them upright, admire their beauty, and build a bouquet around them (sweet flowers). Incorporate supporting flowers (fillers) and lush greenery to add depth and texture. Don’t forget to leave 4-5 inches of exposed stem at the bottom to ensure that the bouquet can sit comfortably in a vase filled with fresh water. This will keep your creation looking vibrant and beautiful for days to come.
Step 5: Secure Your DIY Bouquet
Congratulations on completing your stunning arrangement! its time to secure everything in place with finishing touches. Consider adding fillers like baby’s breath or myrtle wax flowers to give your bouquet extra volume and delicate beauty. To keep everything firmly in place, use floral tape or wire to bind the stems at their base. Floral tape can also be used to hide any wire and create a polished look. Finally, trim any excess stems and place your masterpiece in a vase filled with fresh water – your DIY bouquet is ready to bring joy!

If you prefer a simple bouquet, try wrapping twine or string around the stems, covering the entire area, and tying a neat ribbon knot for a sweet touch. You can use wrapping paper to cover the bouquet’s stems for a more creative presentation. Simply lay the paper in a diamond shape, place the bouquet in the center, and fold the bottom corner to cover the stems. Then, fold the right and left sides inward to meet in the center, overlapping the bottom fold. Secure everything with a beautiful ribbon to complete your wrapped bouquet!
We’ve covered different steps in making a Flower Bouquet. Make your own ideas and DIY flower arrangements for your loved ones with creativity and make their special day even more memorable.
Guide on making Easy flower Bouquets at home.
Simple Flower Arrangement:
Choose long-stemmed flowers like irises, sweet peas, and lilies for a classic floral arrangement. Cut stems at an angle and arrange them in a tall, cylindrical vase. Line the inside of the vase with broad foliage like tropical ti leaves to hide stems.
Florist tip: When purchasing stems, it is advisable to opt for those with unopened buds to maximize the longevity of your floral display.
Full Flower Arrangement:
Create a dense mound of flowers using an unseen framework inside a wide decorative bowl. Line the bowl with biodegradable florist foam or insert a ball of chicken wire or flower frog inside the bowl to hold stems. Insert a full rose or carnation roughly in the middle of a foam block so that it sticks a few inches above the bowl edge. Surround that flower with other large blooms.
Florist Tip: While arranging flowers, consistently rotate the bowl for an even and symmetrical fill.
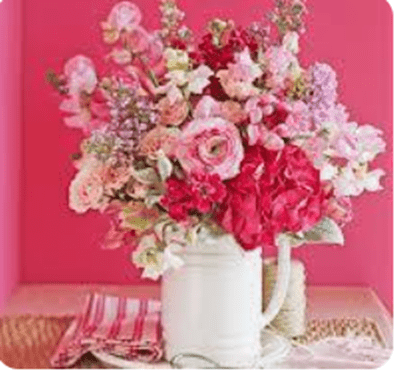
Peony Bouquets:
Make an exquisite floral arrangement showcasing charming pink peonies arranged in a striking stripe pattern at the center, complemented by a gorgeous, flowered cabbage on one side and a pristine white hydrangea on the other. These blooms collaborate to form an aesthetically pleasing and captivating exhibit.
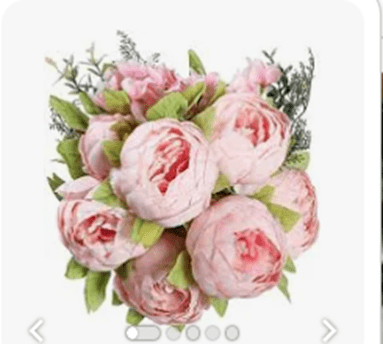
Florist tip: Large blossoms give you a lot of impact and are easy to arrange.
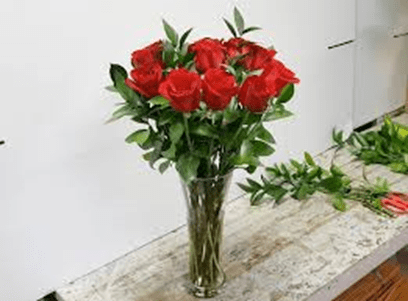
Large Flower Arrangements:
Choose flowers with large blooms like lilies, lisianthus, and roses for a lush arrangement. Start by grouping two or three large flowers together and varying their height. Once satisfied, cut the stems and place them in a vase. Add longer snapdragons near the back and fill in with greenery.
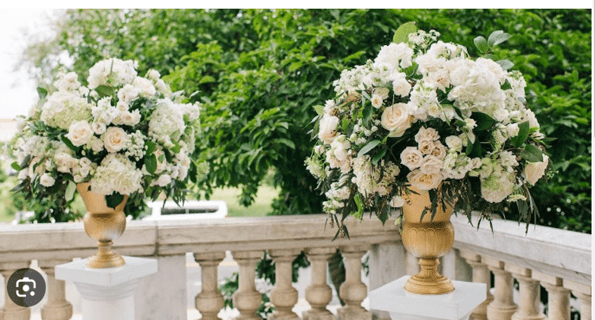
Florist Tip: Start with filler flowers to create a lattice base in the vase for your arrangement.
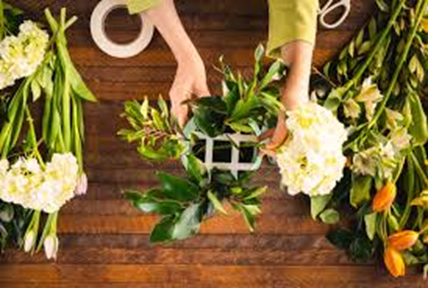
Hoop Wreath Magic:
When creating a hoop wreath, experiment with the placement of your DIY focal flower for a unique look. Consider asymmetry by slightly off-centering the flower and adding smaller blooms to balance the composition. Use floral tape to secure the floral arrangement and attach flowers to the hoop using floral wire.
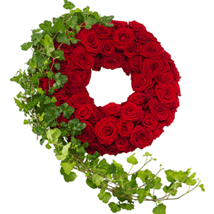
Florist Tip: Wrap floral wire around the stem and hoop, leaving 1/2 of the gold hoop exposed.
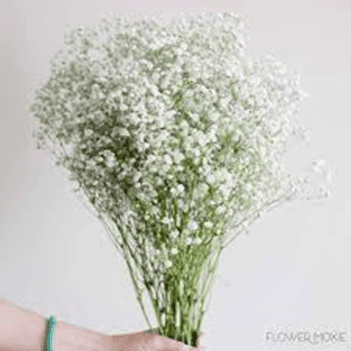
The pomander bouquet:
The pomander bouquet, also known as the flower ball, is a versatile decoration option. It can be used for chair decor, hanging balls, or bouquets. The simple making process requires only one type of flower (roses/gypsophila). Start by selecting small DIY blooms and attaching them to a foam ball with a ribbon or string. The finished pomander bouquet can be hung or carried using the ribbon handle.
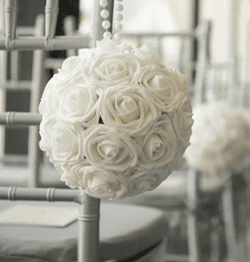
Florist Tip: Don’t oversoak the foam to avoid it becoming heavy or water dripping down dresses and ruining ribbons.
Wrapping it up
Creating your own flower bouquet in Oman is an enjoyable process. You can craft beautiful DIY flower ideas for any occasion in five easy steps: gather supplies, prepare flowers, choose a style, assemble the bouquet, and add finishing touches. Unleash your creativity, explore a variety of flowers, and enjoy making your own stunning bouquet. Whether for a special event or to brighten up your home, DIY floral arrangements in Oman are an excellent way to express your creativity and passion for flowers. Why not try it and discover the joy of creating your unique bouquets??
Learn more about our new products and flowers designs. And checkout all the updates of Deals and Offers on our social media.